Wednesday, April 26, 2017

How To Change Font Style On Huawei EMUI 5.0 Without Root

How to Change Font Style on Huawei EMUI 5.0 Without RootChange Font Style EMUI 5.0 - How to Change Font Style on Huawei EMUI 5.0 Without Root
Huawei released the new UI EMUI 5.0 with Android 7.0 at Huawei Mate 9 launch. Huawei still not released the EMUI 5.0 in many devices they still testing EMUI 5.0 in many devices by the beta test program. If you are an EMUI 5.0 want to customize the device but rooting method not released for all device but you can change the font. Here the guide how to change font style on Huawei EMUI 5.0 without root. In this method will share a method to change Font Style on Huawei EMUI 5.0 without getting root.
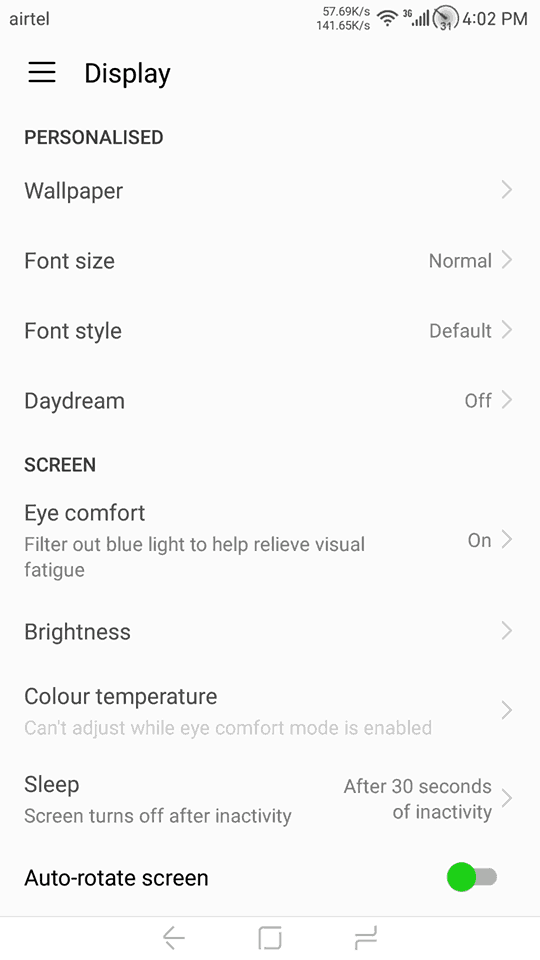
EMUI 5.0 currently released for Huawei Mate 9, Huawei P9Honor 8, Honor 8 pro, Honor 6x, Honor 5c and 5x. You can Change Font Style on Huawei EMUI 5.0 installed this device’s with I font and you don’t have to root. Fortunately the Change Font Style option disabled in Settings –> Display Font style option only you can see the default one. Here is the ADB command you can enable the font style option and we will guide it.Preparation:-
  • Enable developer options.
Go To Settings -> About Phone -> Tap On “Build Number” 7 Times To Enable Developer Options.
  • Enable USB Debugging.
Go To Your Settings -> Developer Options -> Tick The “Usb Debugging” Checkbox .
  • Install Huawei USB Driver Link->.
  • Download Latest ADB-Fastboot-Tool From Here->.
  • Read Guide.

How to Change Font Style on Huawei EMUI 5.0:-

Read Preparation Install Huawei Driver.Download Latest ADB-Fastboot-Tool Unzip it.
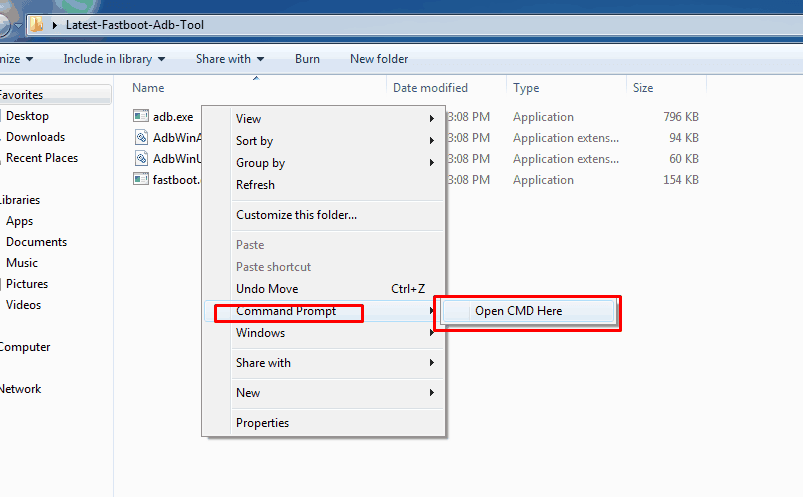
Open the command prompt window in the ADB-Fastboot-Tool folder by Shift + Mouse Right – Open Cmd Here.
adb fastboot cmd - How to Change Font Style on Huawei EMUI 5.0 Without Root
Connet your phone to PC.
Now Paste this command in the command window.
adb shell settings put system hw_hide_font_style false
Allow the ADB service in the phone and wait for it done.
Now reboot the device.
Install I font from Playstore.
yrza0E0Wl hKRP2V3UiK4w6Te8RUdGYPeq 7Dc9JbFksJKCO4FNK9xuIFDKy9F9kqA=w300 - How to Change Font Style on Huawei EMUI 5.0 Without Root
Developer: diyun
Price: Free 
Open I font and download any font you like and install it in unroot method.
Apply new font from Settings –> Display -> Font.


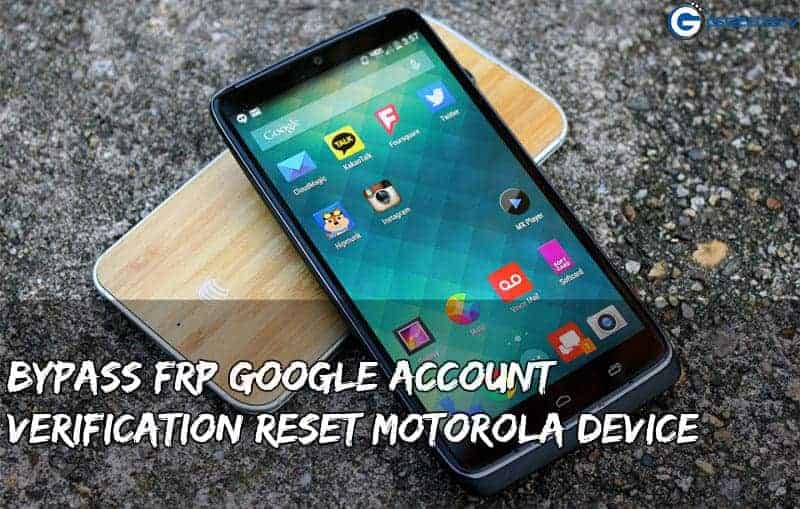
Bypass FRP Motorola Device Reset Google Account Verification

Bypass FRP Motorola Device Reset Google Account Verification

Motorola frp - Bypass FRP Motorola Device Reset Google Account Verification
Now days android device Security is a major concern, because after stolen , locked device you can unlock device just doing hard reset from recovery but its no more because Google introduced a new security measure in android 5.0 and 6.0 Android lollipop and Android  marshmallow called factory reset protection (FRP). Factory reset protection keeps your data safe in case your device gets stolen. Factory reset protection protect your device after hard reset the device so any one can’t use if the device stolen. But here a method created by Rootjunky.com to bypass Factory reset protection Google Account Verification and reset your device here we will guide you. we already posted guide for Lg, Samsung and Nexus device how to bypass frp, now we will guide you how to bypass Motorola devices like Moto G Turbo, Motorola Droid Turbo, Moto G, Moto E and other marshmallow lollipop Motorola devices .

Charge The Device.Preparation :-

  • Need Wi-Fi Connection With the Internet.
  • Windows Running Pc.
  • Install Motorola Driver On Your Pc Download From Here->.
  • Download the Motorola FRP Bypass Tool.
  • Follow The Guide.

⇓⇓ Download Motorola FRP Bypass Tool ⇓⇓

Guide To Bypass Factory Reset Protection(FRP) on Motorola Devices:-

First You Need to Turn On USB Debugging by this trick  
Step 1-> Reset Your Device From Recovery Mode.
Step 2->Turn on your Motorola devices go to setup wizard Select Language and accept terms.
Step 3-> Connect Wifi and go next .
Step 4-> At “about your privacy” page Hit “Privacy Settings” -> Hit “View Motorola Privacy Policy” .
Step 5-> In Motorola Privacy Policy Select any “text” and hit the Search button at top right.
Step 6-> Search for “Setting” in Search box Open Setting app.
Step 7-> Go to “About Phone” In Setting Tap “Build Number” Until Show “You are now a developer”.
Step 8-> Back and go to “developer options” Enable the “USB Debugging”.
Step 9-> Now Download the “Motorola FRP Bypass.zip” and unzip it.
Step 10-> Connect your device to PC with USB cable.
Step 11-> Go To “Motorola FRP Bypass” folder run “Motorola-FRP-Bypass.bat” Wait for it was done
Motorola FRP Bypass will force stop the Setup Wizard Boom .
Step 12-> Now Just Go to Setting Backup Reset and Reset The Device From Setting.
Boom Its Done After Rest Your Device Run Normally Now You Can Setup Your Device And Enjoy.
Source -: Rootjunky.com YouTube

If Any Problem Please Comment Below….. simple smile - Bypass FRP Motorola Device Reset Google Account Verification simple smile - Bypass FRP Motorola Device Reset Google Account Verification simple smile - Bypass FRP Motorola Device Reset Google Account Verification

Universal Samsung FRP Bypass

Universal Samsung FRP Bypass

nexus2cee_frp (1)
Here are the steps to remove factory reset protection / Google previously synced account lock from your Samsung device.
  1. Download and install RealTerm program
  2. Download and copy frpbypass.apk to the device micro sdcard or download once into the device
  3. start phone and connect to WIFI also plug into the computer with your usb cable
  4. start RealTerm on your pc and under pisplay check the box HALF DUPLEX
  5. right click on my computer and select manage once it opens click device manager then modems
  6. under modems you should see a Samsung device. right click it then select properties
  7. once the properties window opens select modem tab and see what port it is on like com5 for an example
  8. now that you know the com port number close all device manager windows and open RealTerm again
  9. under the ports tab in RealTerm enter your port number then click change.
  10. next click the send tab. you will need to send these two commands with the Send ASCII button
  11.    first at+creg?\r\n
  12.    then atd1234;\r\n
  13. look at your phone and the dailer will pop up.
  14. Know watch the video below to see the rest of the steps and please comment below on your success or failures. thanks
NOTE: If you dont have a SDcard and are getting the sparse ERROR in es file explorer then you can buy a OTG flash drive like this one and load the FRPbypass.apk to it from your computer then plug it into the phone. once plugged in navigate to it in es file explorer and install the frp bypass app that way. You can also put this address into your ES file Explorer app https://www.androidfilehost.com/?fid=24665542585483676